
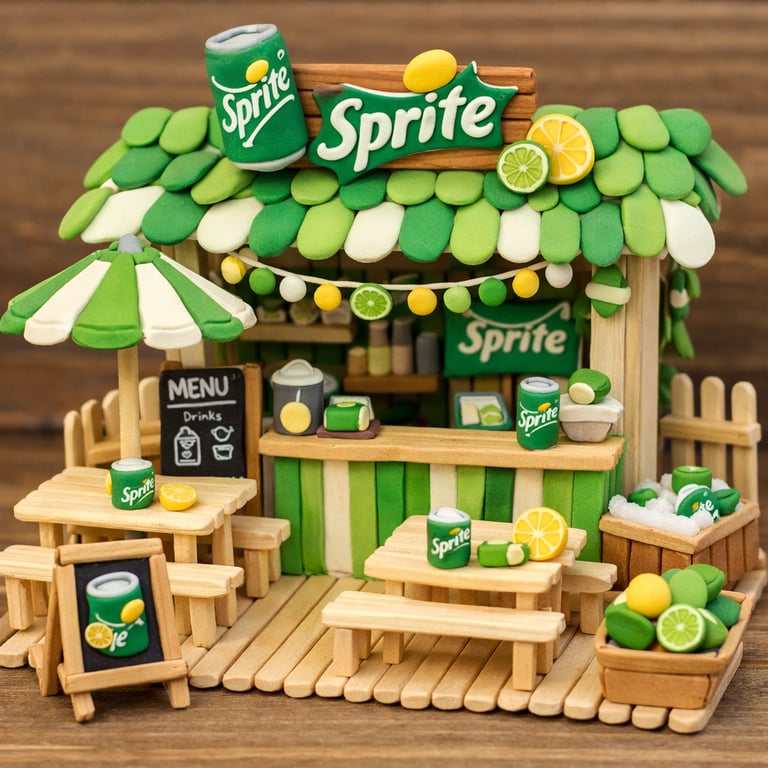
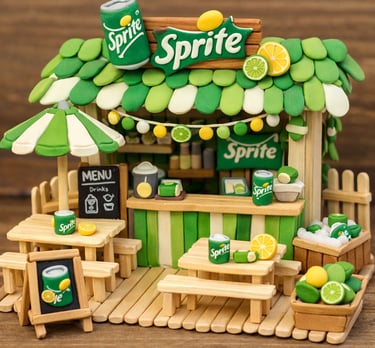
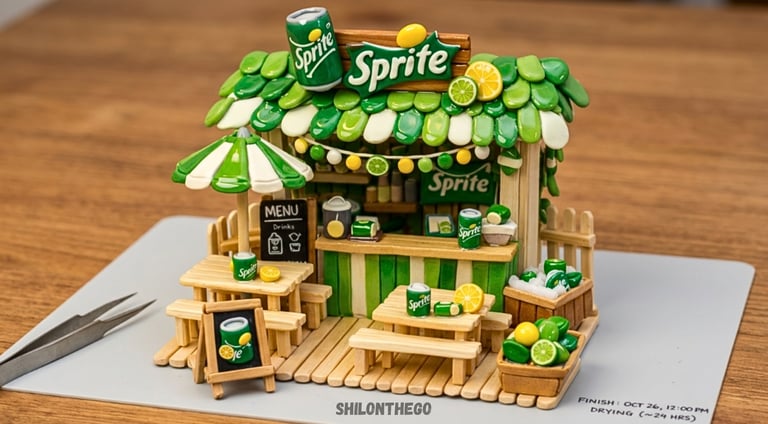
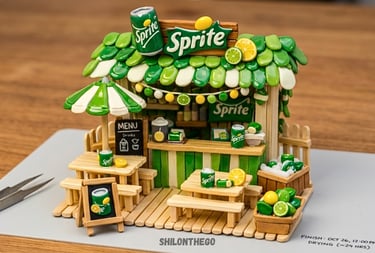
DIY Mini Sprite Café Tutorial (Step-by-Step Guide)
Create your own mini Sprite café using air dry clay and ice cream sticks with this easy step-by-step DIY tutorial. 🍋💚 Perfect for beginners, this miniature craft includes making tiny soda cans, a leafy roof, furniture, and cute café details ideal for aesthetic decor, content creation, and Pinterest-inspired projects. ✨
DIY TUTORIALS
Shil
3/30/20263 min read
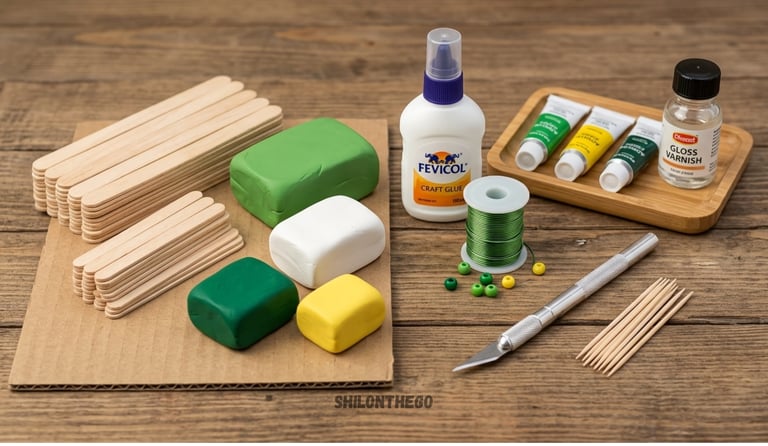
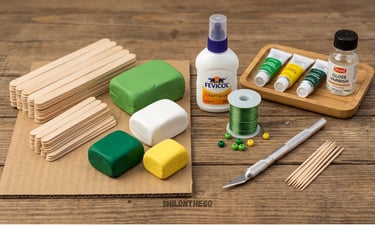
Materials Required:
Air dry clay (green, white, yellow, dark green)
Ice cream sticks (wooden)
Fevicol / strong glue
Cutter / blade
Toothpick (for details)
Acrylic colors (optional for touch-ups)
Thin wire or thread (for hanging lights)
Small beads (for lights)
Cardboard (base support)
Clear varnish (optional for finish)
Time Required:
Approximately 4–5 hours (including drying)
Base + Structure: 45–60 mins
Roof + Signboard: 60–80 mins
Mini details (cans, lemons, props): 60–80 mins
Furniture + assembly: 45–60 mins
Final detailing: 20–30 mins
Drying time (air dry clay): 2–3 hours
Difficulty:
Beginner - Intermediate
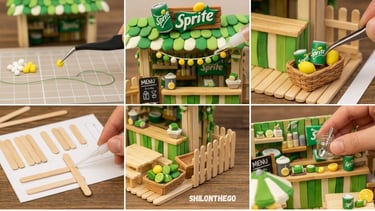
How to Make a Mini Cafe ?
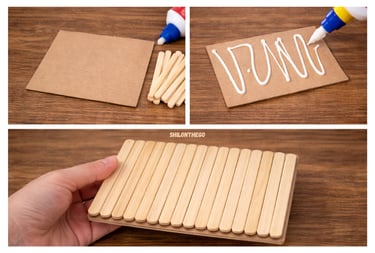
Step 1: Make the Base
Take a rectangular cardboard base (approx 12–15 cm).
Glue ice cream sticks side by side to create flooring.
Trim edges neatly using a cutter.
Let it dry completely.
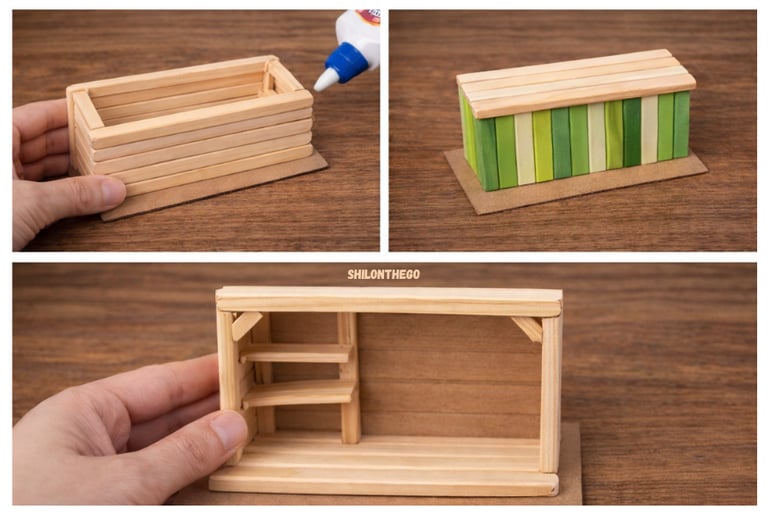
Step 2: Structure (Wall + Counter)
Counter:
Stack sticks horizontally to form a rectangular counter box.
Cover front with vertical sticks for texture.
Paint with green + light green stripes.
Back Wall:
Create a simple frame using sticks.
Add 2–3 shelves inside using small stick pieces.
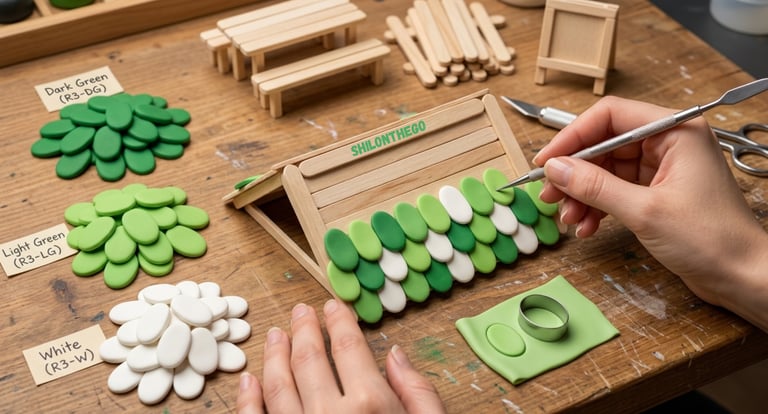
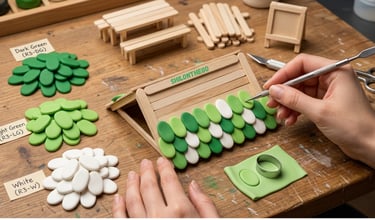
Step 3: Roof
Roll clay and cut into oval leaf shapes.
Make multiple shades:
Dark green
Light green
White-green mix
Attach layer by layer on roof base (sticks or cardboard).
Overlap slightly to create shingle effect.
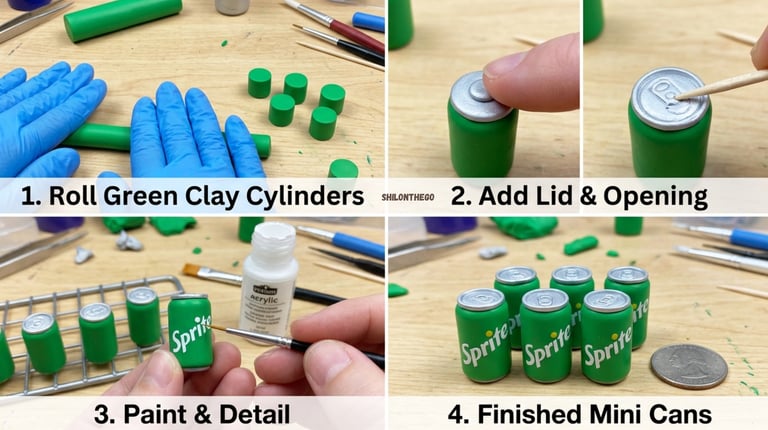
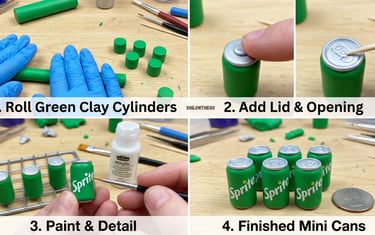
Step 4: Mini Sprite Cans
Roll clay into small cylinders (1–2 cm).
Add:
Top circle (lid)
Tiny slit for opening
Paint:
Green base
White “Sprite” style text (handwritten or sticker)
(Make 4–6 cans for realism.)
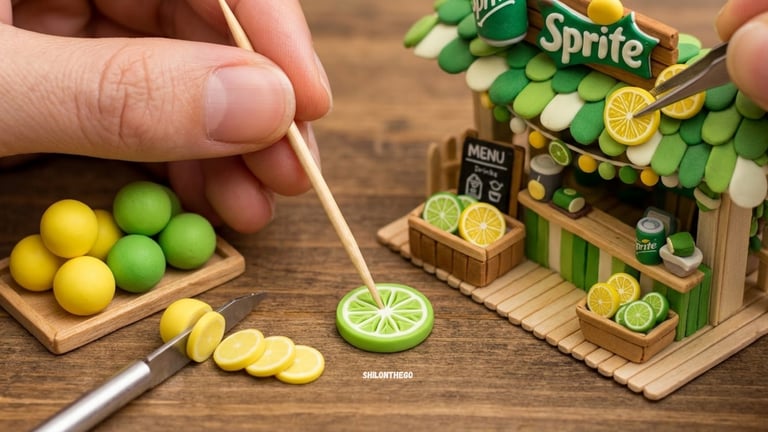
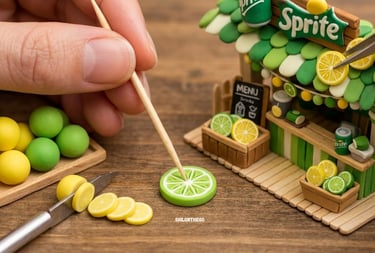
Step 5: Lemon & Lime Decor
Roll yellow + green clay balls.
Slice into thin discs.
Add inner lines using toothpick.
Place:
On counter
On roof
In basket
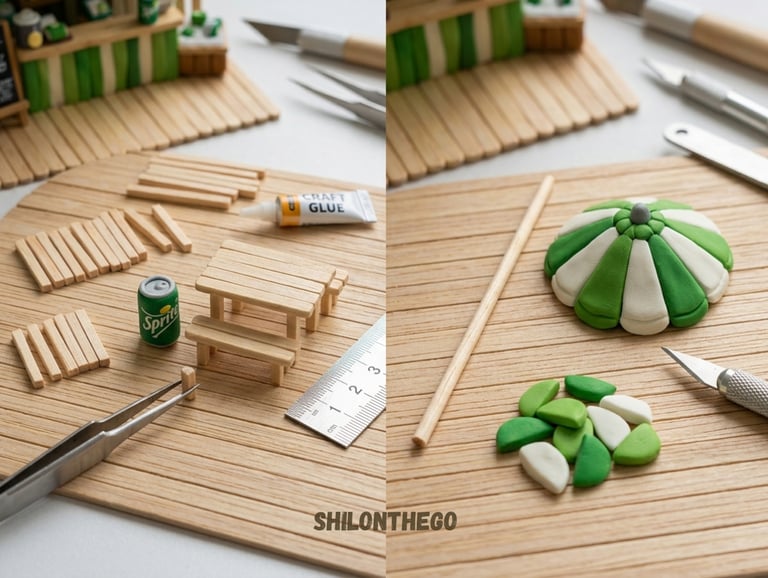
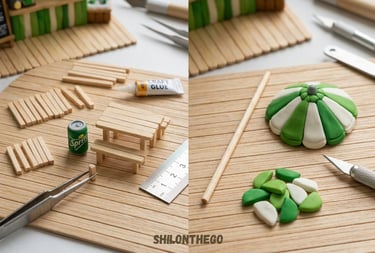
Step 6: Tables, Bench & Umbrella
Tables & Benches:
Use small stick pieces.
Glue:
Flat top
4 legs
Keep size proportional (2–3 cm height).
Umbrella:
Use stick as pole.
Make top using clay in green & white stripes.
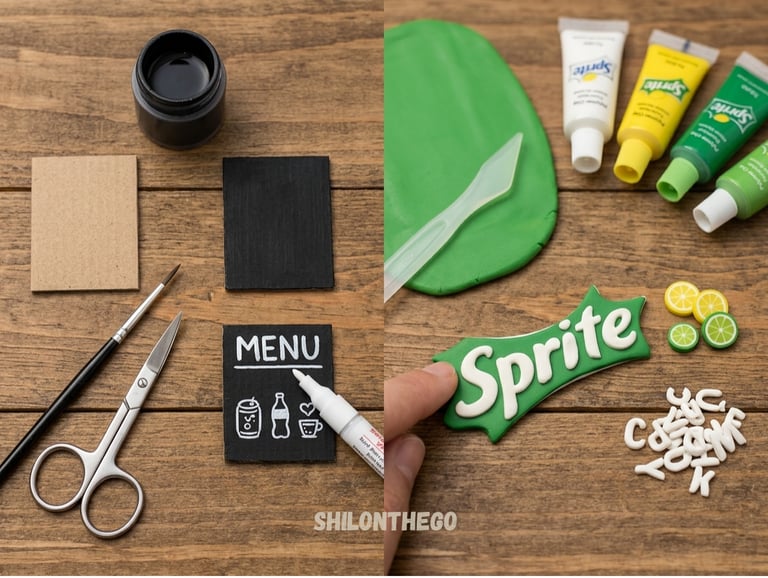
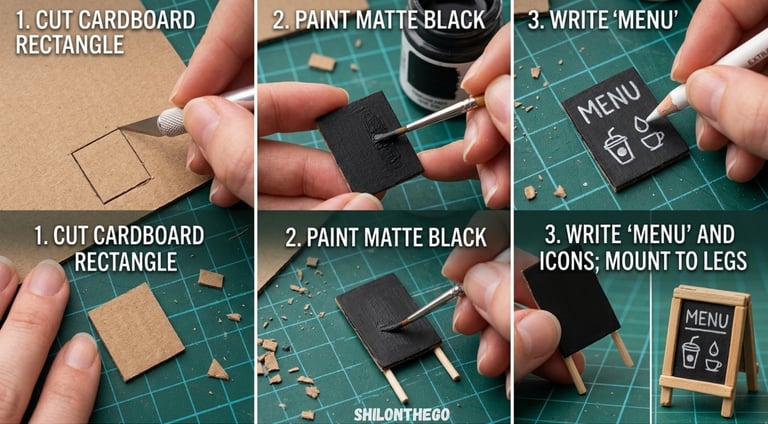
Step 7: Signboard + Menu
Cut small cardboard rectangle.
Paint black → becomes chalkboard.
Write:
“MENU”
Drinks icons
Sprite Board:
Use clay slab.
Shape into curved sign.
Add white lettering + lemon detail.
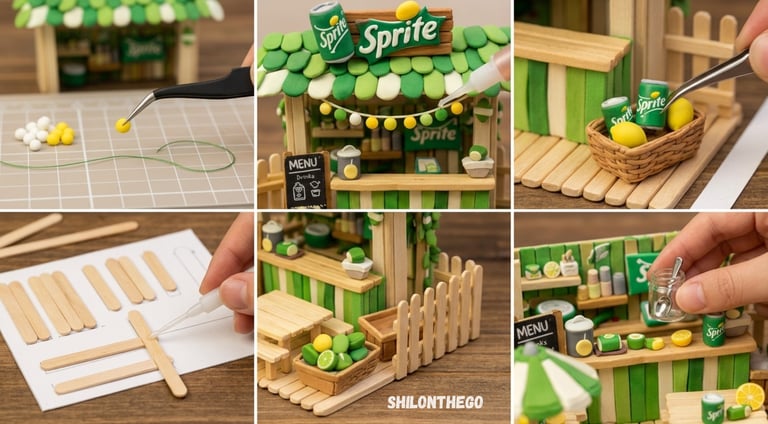
Step 8: Lights & Details
Make tiny balls (yellow + white) → string lights
Attach using thread or glue line
Add:
Basket with cans
Fence using sticks
Extra props (cups, jars)
Step 9: Final Assembly
Fix:
Counter at center
Roof on top
Tables in front
Umbrella side
Add all mini items carefully.
Let everything dry 24 hrs.
Optional: Apply clear varnish for shine.


Stay
Get new crochet patterns and tips every week
© 2026 shilonthego. All rights reserved.